
最终效果 nmousewheel="return bbimg(this)" onload="javascript:resizepic(this)" border="0"/>
<图14>
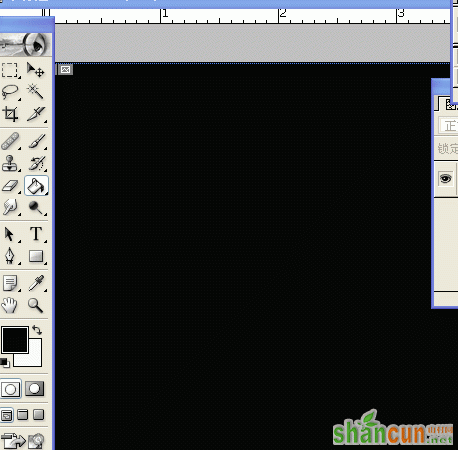
1.首先建层500*500的文件,填充黑色
 nmousewheel="return bbimg(this)" onload="javascript:resizepic(this)" border="0"/>
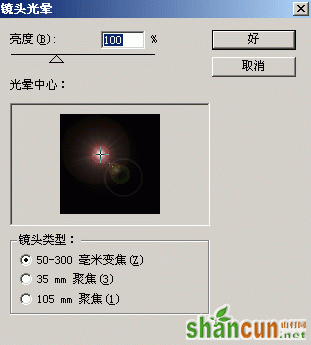
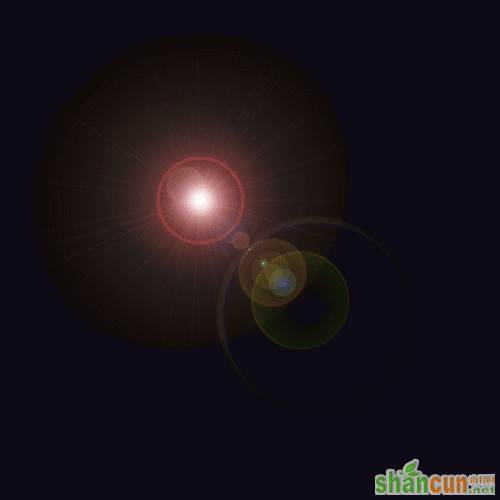
2.执行:滤镜-渲染-镜头光芒
 nmousewheel="return bbimg(this)" onload="javascript:resizepic(this)" border="0"/>
 nmousewheel="return bbimg(this)" onload="javascript:resizepic(this)" border="0"/>
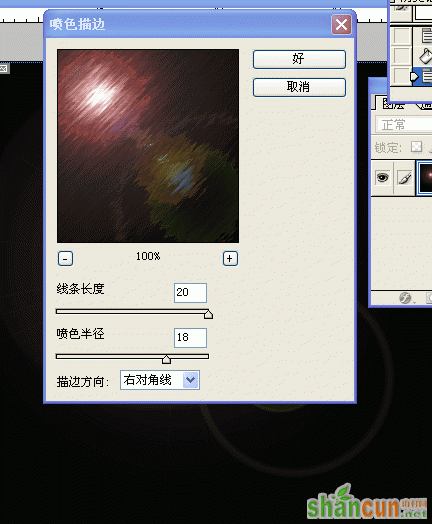
3.再执行:滤镜 > 画笔描边 > 喷色描边
 nmousewheel="return bbimg(this)" onload="javascript:resizepic(this)" border="0"/>
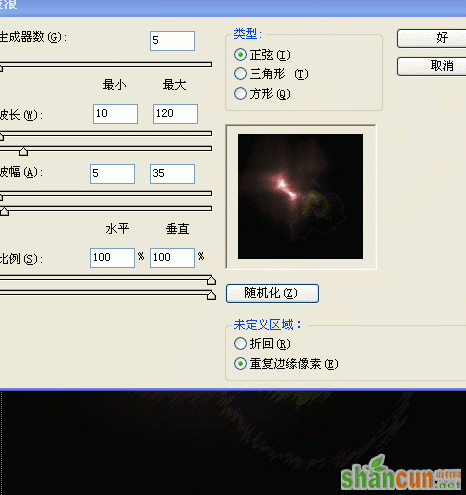
4.再执行:滤镜 > 扭曲 > 波浪
 nmousewheel="return bbimg(this)" onload="javascript:resizepic(this)" border="0"/>
5.执行:滤镜 > 素描 > 铬黄
 nmousewheel="return bbimg(this)" onload="javascript:resizepic(this)" border="0"/>
6.调整色彩平衡
 nmousewheel="return bbimg(this)" onload="javascript:resizepic(this)" border="0"/>
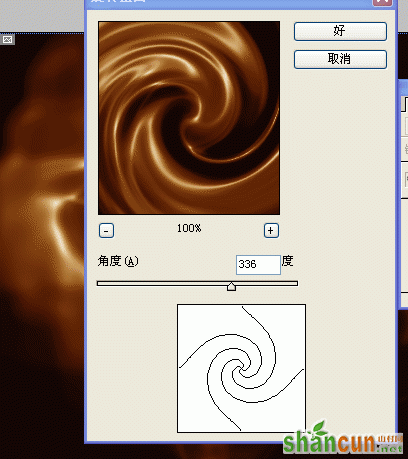
7.执行:3lian素材,滤镜 > 扭曲 > 旋转扭曲
nmousewheel="return bbimg(this)" onload="javascript:resizepic(this)" border="0"/>
最终效果nmousewheel="return bbimg(this)" onload="javascript:resizepic(this)" border="0"/>


