
PS滤镜打造星云漩涡最终效果图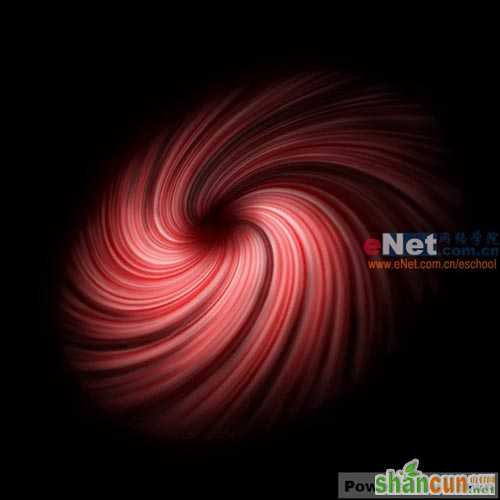 nmousewheel="return bbimg(this)" onload="javascript:resizepic(this)" border="0"/>
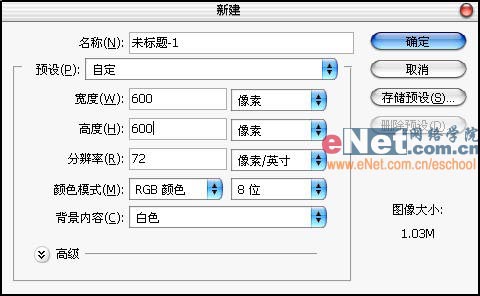
1.首先启动我们的好帮手Photoshop,新建600x600像素的RGB图像。如图1所示。
 nmousewheel="return bbimg(this)" onload="javascript:resizepic(this)" border="0"/>
图1
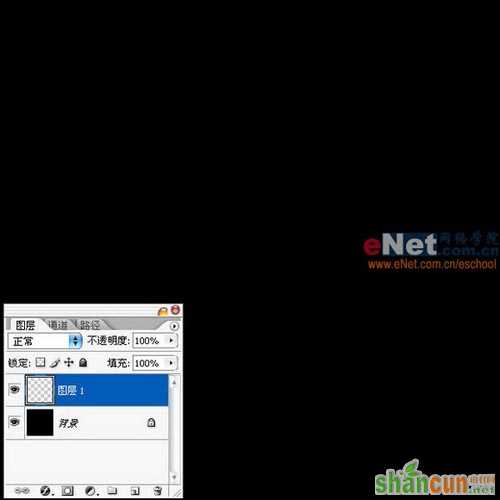
2.将背景图层填充黑色作为星云的背景,然后再新建图层。如图2所示。
 nmousewheel="return bbimg(this)" onload="javascript:resizepic(this)" border="0"/>
图2
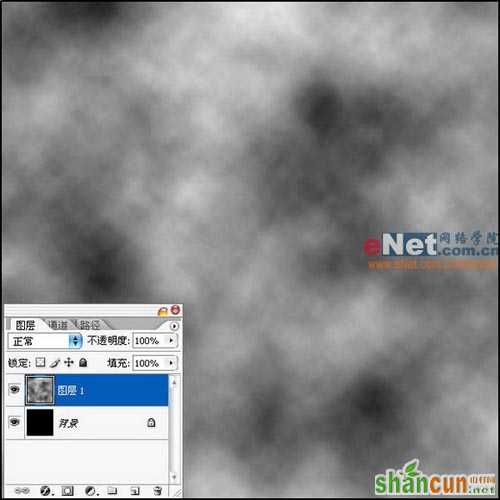
3.对图层1进行操作,执行滤镜/渲染/云彩,给图层1添加云彩效果。如图3所示。
 nmousewheel="return bbimg(this)" onload="javascript:resizepic(this)" border="0"/>
图3
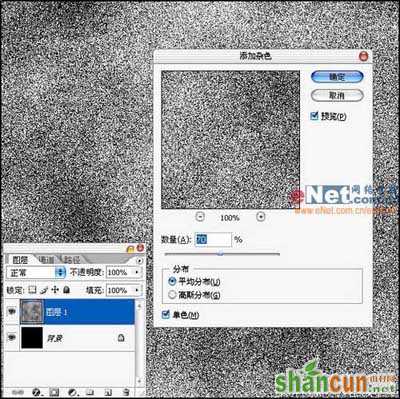
4.接着对图层1执行滤镜/杂色/添加杂色,数量70%,分布采取平均分布,在单色项前打勾。如图4所示。
 nmousewheel="return bbimg(this)" onload="javascript:resizepic(this)" border="0"/>
图4
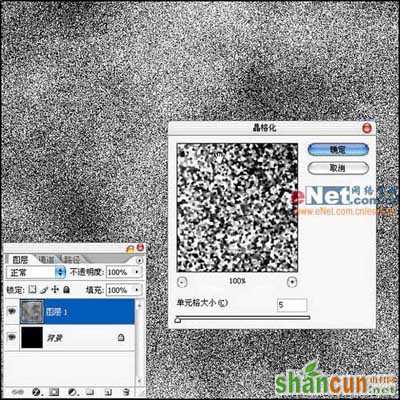
5.再次对图层1进行操作,执行滤镜/像素化/晶格化,单元格大小设置为5。如图5所示。
 nmousewheel="return bbimg(this)" onload="javascript:resizepic(this)" border="0"/>
图5
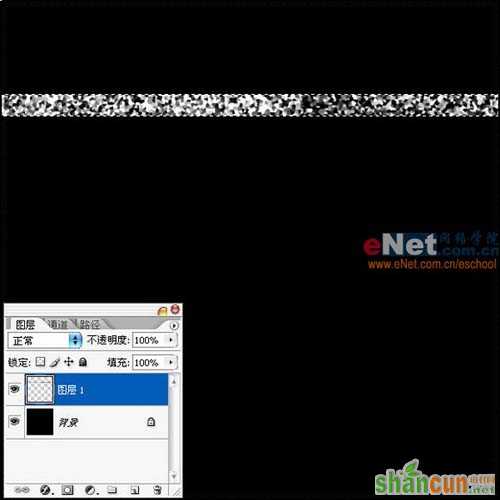
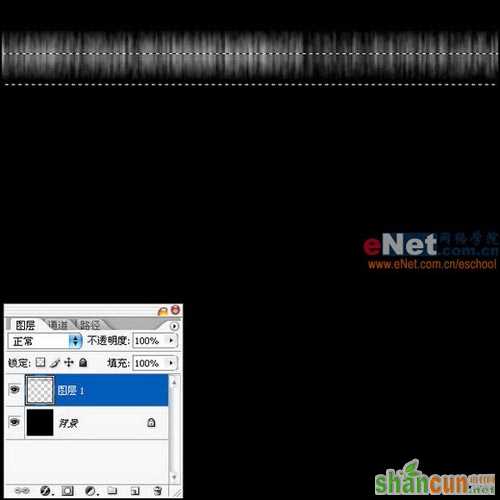
6.使用矩形工具选取其中一横条,然后按下Ctrl+I反选,按下Delete将反选的部分删除,留下我们需要的部分。如图6所示。
 nmousewheel="return bbimg(this)" onload="javascript:resizepic(this)" border="0"/>
图6
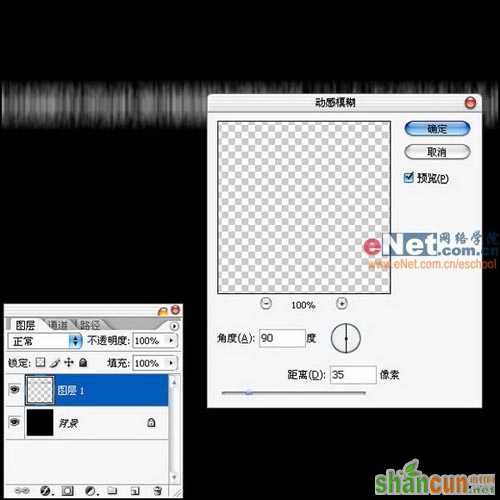
7.使用滤镜/模糊/动感模糊,角度设置为90度,距离为35像素。如图7所示。
 nmousewheel="return bbimg(this)" onload="javascript:resizepic(this)" border="0"/>
图7
8.使用移动工具将这一条状图形移动到画布上放,并使用矩形选区工具从图形的中部到底部选中。如图8所示。
 nmousewheel="return bbimg(this)" onload="javascript:resizepic(this)" border="0"/>
图8
9.按下Ctrl+T变换选区所选中的部分,将下方拉动,使图形调整为竖长条状。如图9所示。
 nmousewheel="return bbimg(this)" onload="javascript:resizepic(this)" border="0"/>
图9
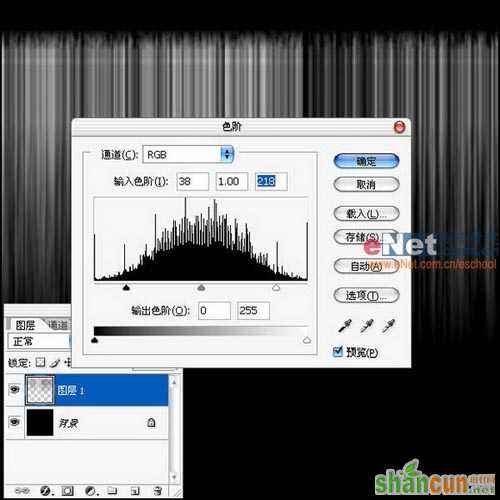
10.按下Ctrl+L打开色阶面板进行调整,将左右两边的滑块向中间移动,使对比调至更加强烈一些。如图10所示。
 nmousewheel="return bbimg(this)" onload="javascript:resizepic(this)" border="0"/>
图10
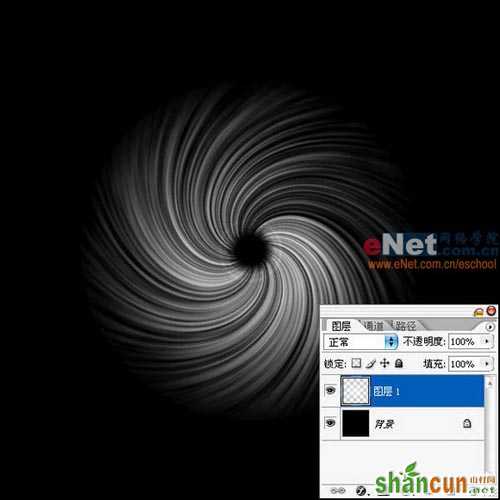
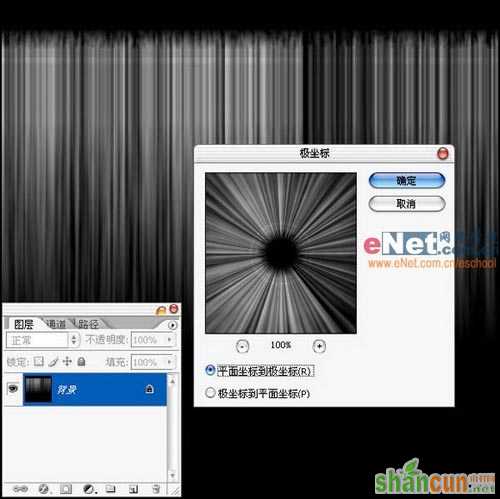
11.将图层1与背景图层合并,执行滤镜/扭曲/极坐标,3lian.com,选中平面到极坐标,单击确定。如图11所示。
 nmousewheel="return bbimg(this)" onload="javascript:resizepic(this)" border="0"/>
图11
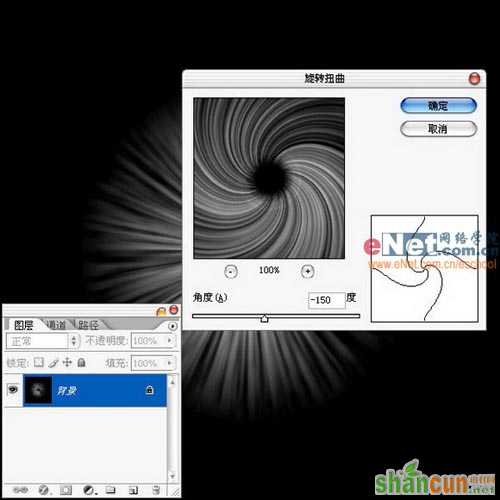
12.紧接着我们就要让漩涡旋转起来,执行滤镜/扭曲/旋转扭曲,将角度设置为-150度。如图12所示。
 nmousewheel="return bbimg(this)" onload="javascript:resizepic(this)" border="0"/>
图12
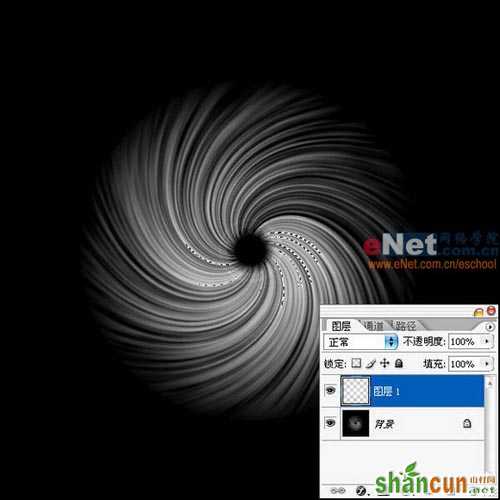
13.执行选择/色彩范围,选取漩涡的选区,然后新建图层,在新图层中给选区填充白色,这一步是为了将漩涡从背景中提取出来。如图13所示。
 nmousewheel="return bbimg(this)" onload="javascript:resizepic(this)" border="0"/>
图13
14.再次将背景图层颜色填充为黑色。如图14所示。
nmousewheel="return bbimg(this)" onload="javascript:resizepic(this)" border="0"/>
图14
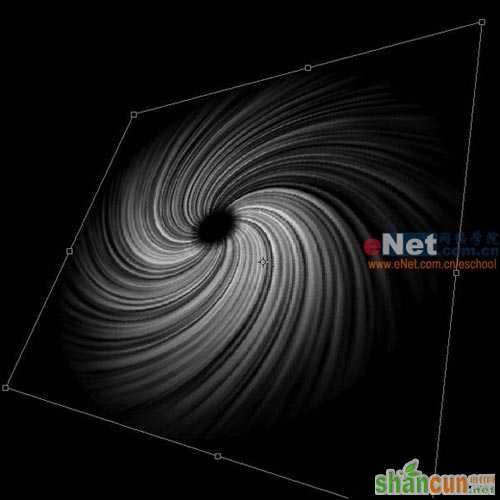
15.将图层1选中,按下Ctrl+T变换图层,按下Ctrl键的同时使用鼠标拖动四个角上的点,将星云调整成为有远近透视关系的形状。如图15所示。
 nmousewheel="return bbimg(this)" onload="javascript:resizepic(this)" border="0"/>
图15
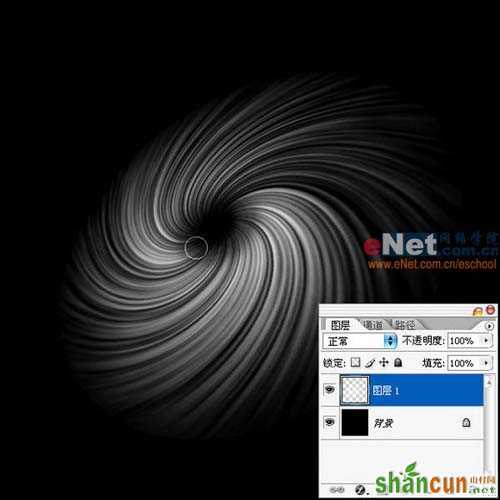
16.使用橡皮工具,将压力和硬度调低将星云漩涡口处擦至柔和的状态。如图16所示。
 nmousewheel="return bbimg(this)" onload="javascript:resizepic(this)" border="0"/>
图16
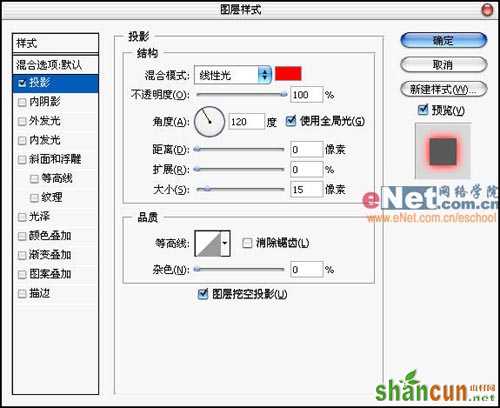
17.接下来给星云添加图层样式。首先添加得是投影样式,3lian素材,选取红色,距离、扩展均设置为0,大小为15像素。混合模式调整为线性光。如图17所示。
 nmousewheel="return bbimg(this)" onload="javascript:resizepic(this)" border="0"/>
图17
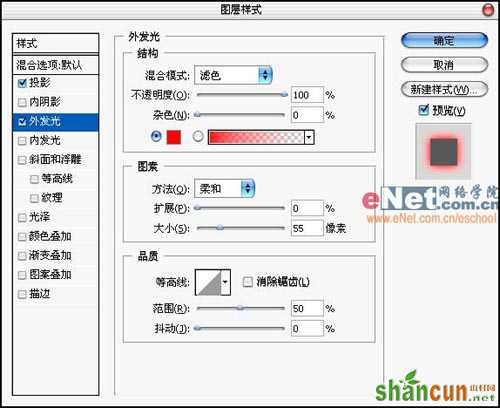
18.然后增加外发光样式,混合模式为滤色,颜色选取红色,不透明度设置为100%,扩展设为0%,大小为55像素。如图18所示。
 nmousewheel="return bbimg(this)" onload="javascript:resizepic(this)" border="0"/>
图18
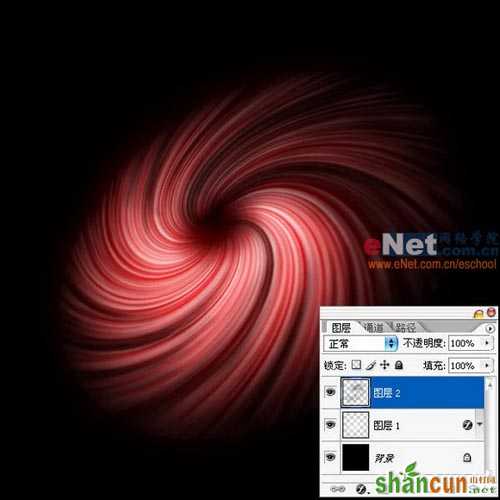
19.新建图层,使用柔和的画笔工具根据星云的样式来绘制出星云的明暗关系,使其看上去更加富有迷幻的感觉。如图19所示。
 nmousewheel="return bbimg(this)" onload="javascript:resizepic(this)" border="0"/>
图19
20.OK,这样就完成了,是不是很简单?这一个实例主要运用了Photoshop的滤镜、图层以及图层样式来实现,做着做着,我发现可以使用这个方法制作一个棒棒糖,哈哈,下回见。
nmousewheel="return bbimg(this)" onload="javascript:resizepic(this)" border="0"/>
图19


