
这个教程步骤很简单适合新手,主要的工具是 ps抽出插件滤镜、蒙板、画笔工具,CS6默认是没有抽出滤镜的,需要的自己百度搜索下载即可。
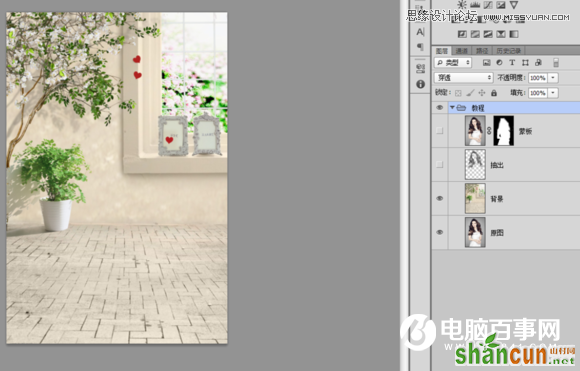
先看看效果:

原图

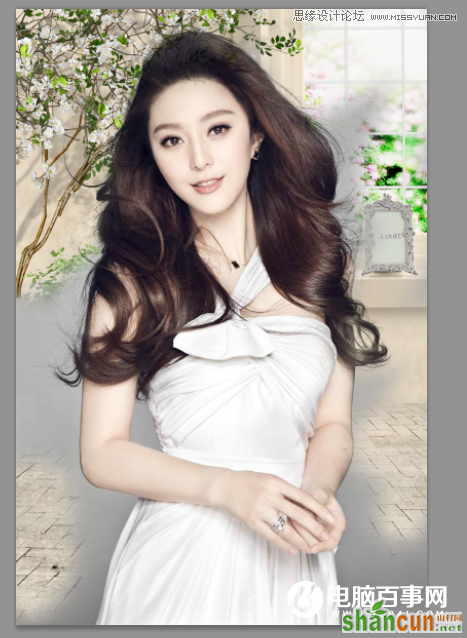
效果

打开范爷原图,然后把素材拖入PS中 图层命名 背景 并调整好大小。

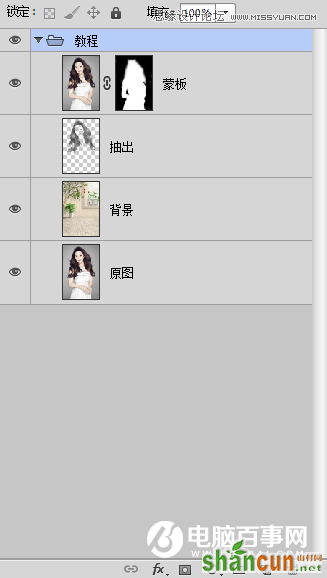
然后复制两层原图图层命名为:蒙板、抽出 点击 蒙板图层的小眼睛隐藏掉

由于为了方便做教程,我已经把教程做完了,并非边做边截图不过影响不大,总体的图层顺序如下:
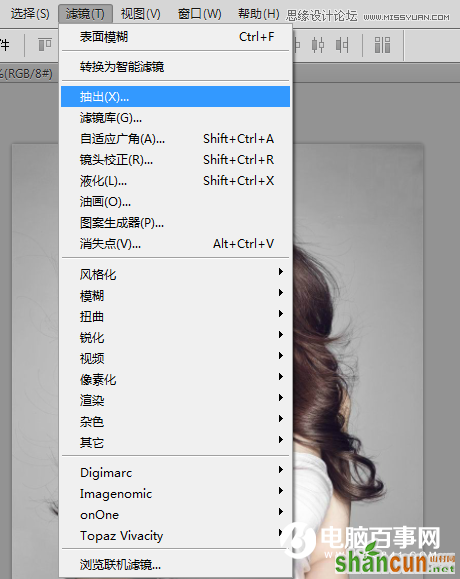
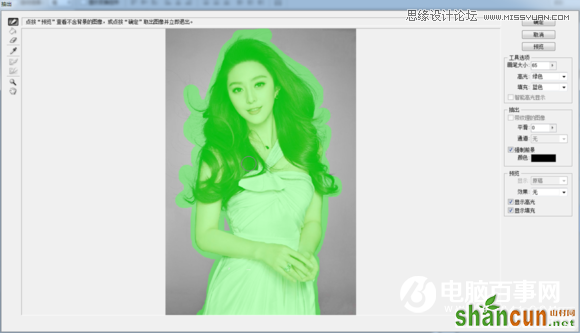
然后选择 抽出图层 点击菜单上面的 滤镜---抽出
勾上强制前景色---颜色为黑色
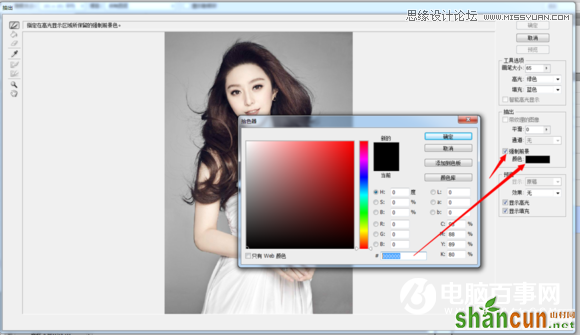
然后把人物涂满,涂好了就确定如图
确定之后的效果:
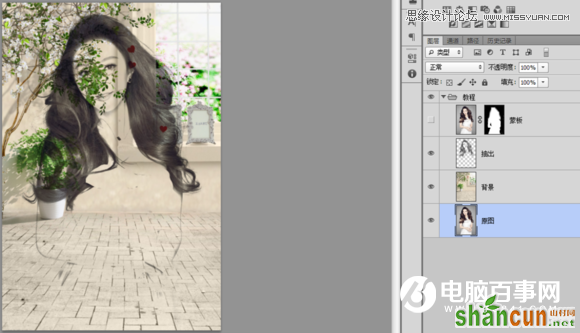
然后现在点击 蒙板的图层显示出来,并且添加蒙板
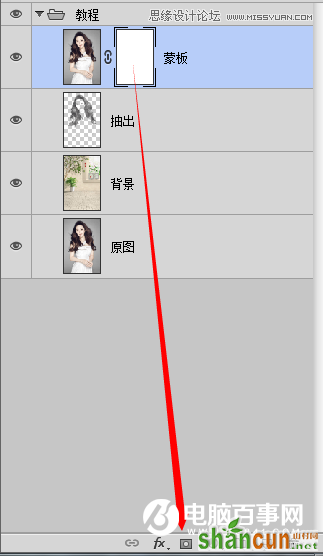
在蒙板图层上,用黑色的柔性的画笔,开始涂抹除了人物之外的地方
把背景擦出来就OK 了。新手Tips:如果擦坏了,可以按一下X键(也就是前景色切换为白色)把擦坏的地方还原回去处理人物边缘的时候,放大图片来擦这样细致度会好很多

最终完成效果图OK,教程到此结束了,感谢范爷漂亮的照片,做教程美女是必须的。没什么技术含量,但是实用性强,易学易掌握。而且这个方法也是影楼经常用的技巧。


