
Brush Strokes(画笔描边) 滤镜主要模拟使用不同的画笔和油墨进行描边创造出的绘画效果。 (注:此类滤镜不能应用在CMYK和Lab模式下)
1、Angled Strokes(成角的线条滤镜)
作用:使用成角的线条勾画图像。
调节参数:
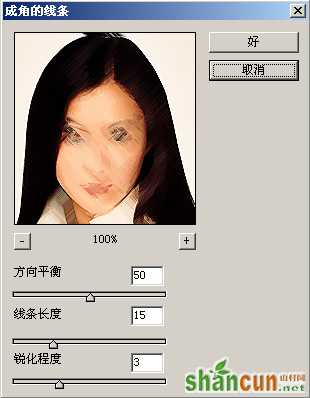
方向平衡:可以调节向左下角和右下角勾画的强度。
线条长度:控制成角线条的长度。
锐化程度:调节勾画线条的锐化度。
图解效果:

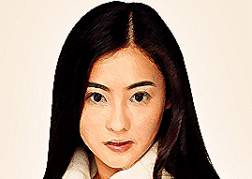
原图像 成角
2、Spatter(喷溅滤镜)
作用:创建一种类似透过浴室玻璃观看图像的效果。
调节参数:
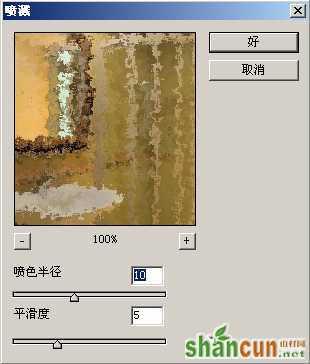
喷色半径:为形成喷溅色块的半径。
平滑度:为喷溅色块之间的过渡的平滑度。
图解效果:
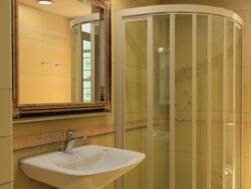
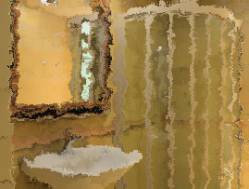
原图像 喷溅效果
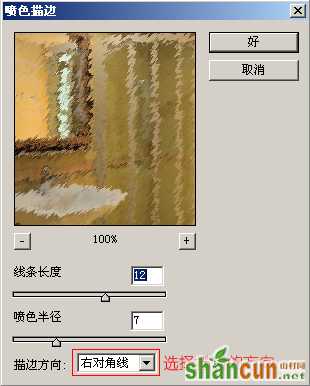
3、Sprayed Strokes(喷色描边滤镜)
作用:使用所选图像的主色,并用成角的,喷溅的颜色线条来描绘图像,所以得到的与喷溅滤镜的效果很相似。
调节参数:
4、Accented Edges(强化的边缘滤镜)
作用:将图像的色彩边界进行强化处理,设置较高的边缘亮度值,将增大边界的亮度;设置较低的边缘亮度值,将降低边界的亮度。
调节参数:
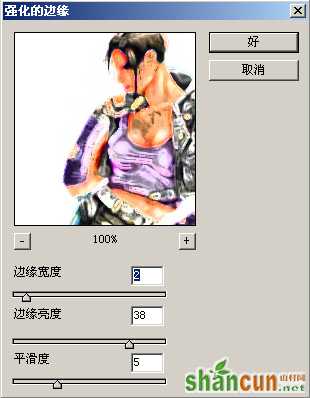
边缘宽度:设置强化的边缘的宽度。
边缘亮度:控制强化的边缘的亮度。
平滑度:调节被强化的边缘,使其变得平滑。
图解效果:
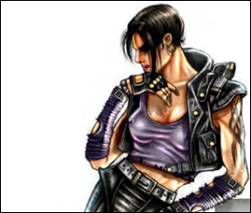
原图像 强化的边缘效果
5、Dark Strokes(深色线条滤镜)
作用:用黑色线条描绘图像的暗区,用白色线条描绘图像的亮区。
调节参数:
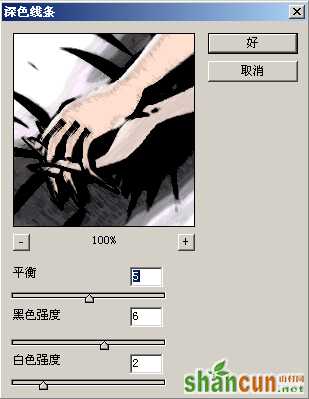
平衡:控制笔触的方向。
黑色强度:控制图像暗区线条的强度。
白色强度:控制图像亮区线条的强度。
图解效果:
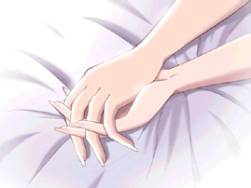
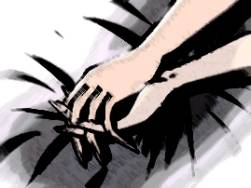
原图像 深色线条效果
6、Sumi-e(烟灰墨滤镜)
作用:以日本画的风格来描绘图像,类似应用深色线条滤镜之后又模糊的效果。
调节参数:
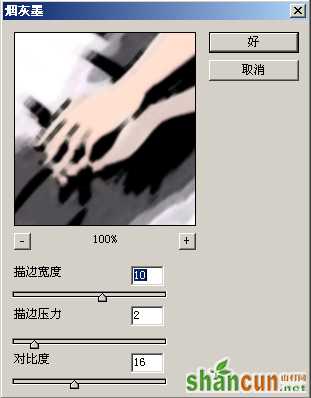
描边宽度:调节描边笔触的宽度。
描边压力:为描边笔触的压力值。
对比度:可以直接调节结果图像的对比度。
图解效果:

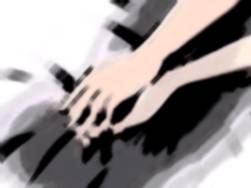
原图像 烟灰墨效果
7、Crosshatch(阴影线滤镜)
作用:类似用铅笔阴影线的笔触对所选的图像进行勾画的效果,与成角的线条滤镜的效果相似。
调节参数:
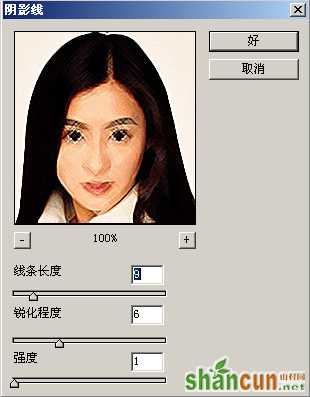
线条长度:为阴影线的长度,较低的值有利于保留图像的细节。
锐化程度:控制勾画后的图像的锐化效果。
强度:为使用阴影线的遍数,最大值为3、
图解效果:
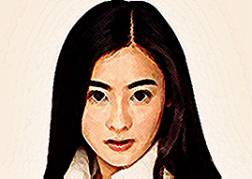
原图像 阴影线效果
8、Ink Outlines(油墨概况滤镜)
作用:用纤细的线条勾画图像的色彩边界,类似钢笔画的风格。
调节参数:
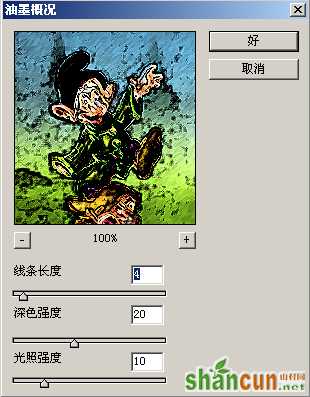
线条长度:设置勾画线条的长度。
深色强度:控制将图像变暗的程度。
光照强度:控制图像的亮度。
图解效果:
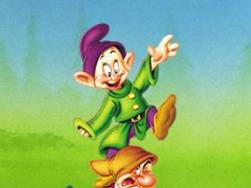
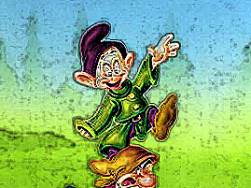
原图像 油墨概况效果


