关于photoshop怎样合成证件扫技巧大全
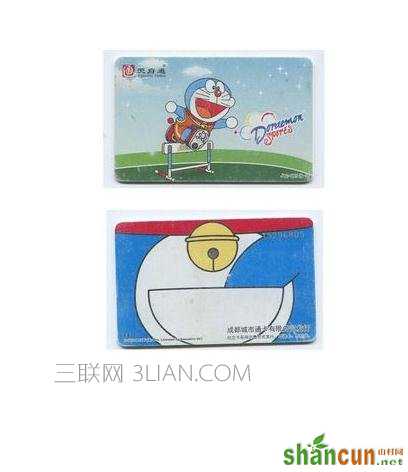
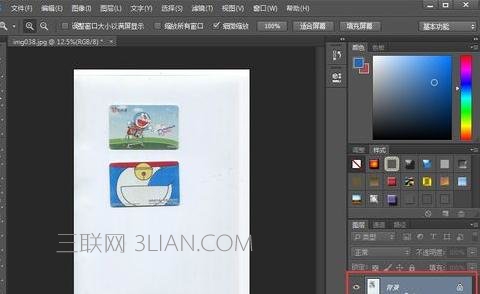
将身份证正、反两面分别扫描备用(本文使用公交卡演示,同样的道理),如图:
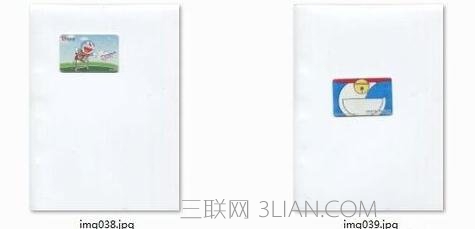
打开photoshop软件,先后将身份证正反两面拖入photoshop软件中(这时,上一张图片处于“置入”状态,未栅格化,上面有一个X,可以调整大小),如图:

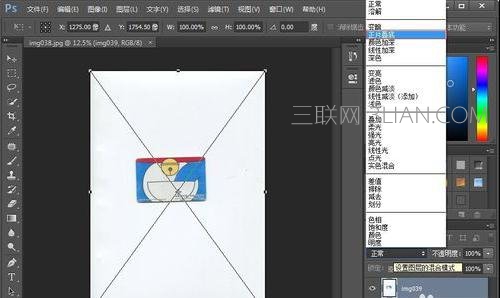
在图层面板“设置图层的混合模式”中,将混合模式更改为“正片叠底”,设置完正片叠底后,就可以看到第一图层了,如图:

用鼠标按住左键,在图片上拖动调整2张图片的相对位置,排列整齐,然后在有X的图片上双击鼠标左键,将其完全置入到图片中,这时X消失。如图:

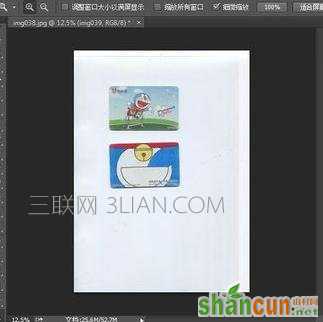
按下ctrl+e,将两个图层从上到下合并,如图:
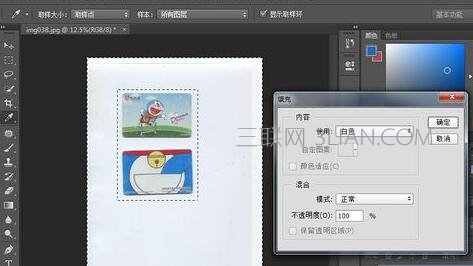
去除边角阴影:用矩形选框工具选中证件区域,这时可以按住ctrl,使用鼠标左键对证件在图片中的位置进行调整,然后按ctrl+shift+i进行反向选择,按下delete删除,在弹出的填充对话框中选择白色进行填充。如图:
到这里,基本上已经结束了,最终处理效果如图: