
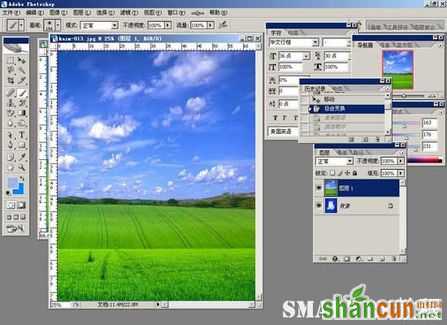
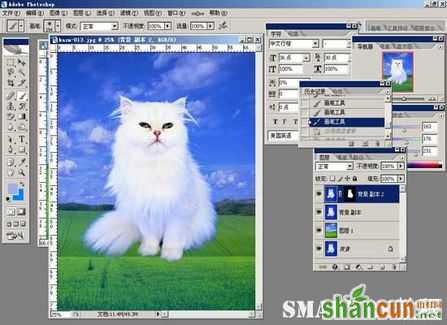
1、打开图片,并拖入一张背景图片,以供抠图参考。
 nmousewheel="return bbimg(this)" onload="javascript:resizepic(this)" border="0"/>
图31
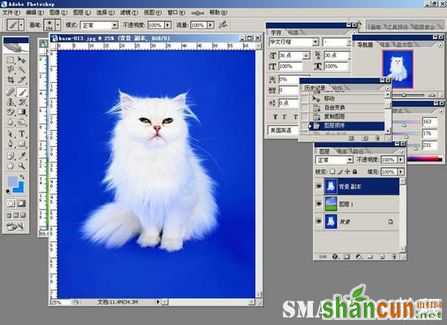
2、复制背景层一份,并置于顶层;
 nmousewheel="return bbimg(this)" onload="javascript:resizepic(this)" border="0"/>
图32
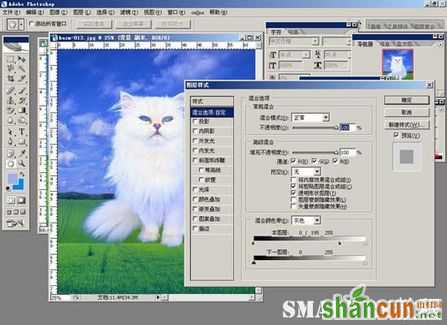
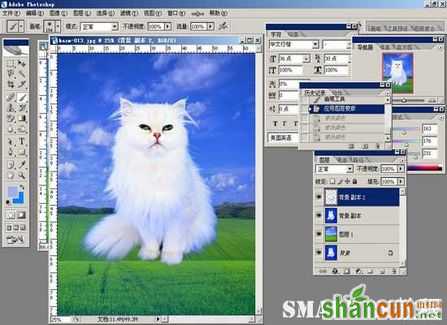
3、双击图层缩略图,打开图层样式对话框,调整混合颜色带参数如图:
 nmousewheel="return bbimg(this)" onload="javascript:resizepic(this)" border="0"/>
图33
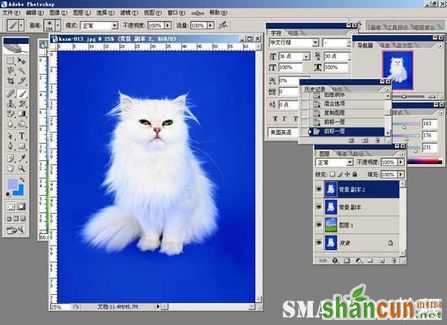
4、再复制背景层一份,并置于顶层。
 nmousewheel="return bbimg(this)" onload="javascript:resizepic(this)" border="0"/>
图34
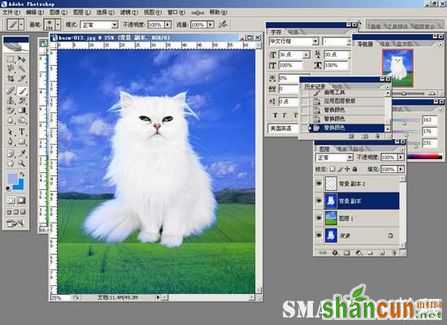
5、添加蒙版进行微调。
 nmousewheel="return bbimg(this)" onload="javascript:resizepic(this)" border="0"/>
图35
6、应用蒙版后的效果。
 nmousewheel="return bbimg(this)" onload="javascript:resizepic(this)" border="0"/>
图36
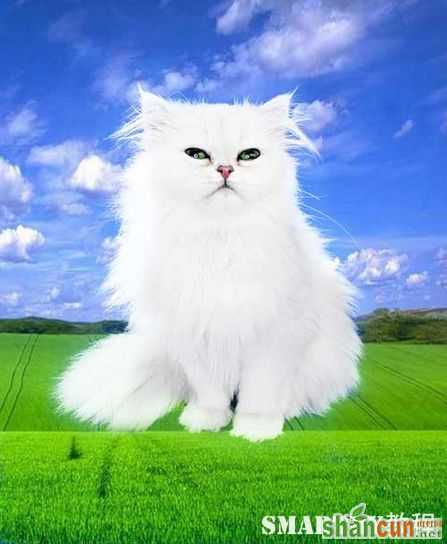
7、还是运用颜色替换,除去杂色,得到一只可爱的白猫。
 nmousewheel="return bbimg(this)" onload="javascript:resizepic(this)" border="0"/>
图37
8、细微处改变画笔大小进行微调,得到最终效果图:
 nmousewheel="return bbimg(this)" onload="javascript:resizepic(this)" border="0"/>
图38


