
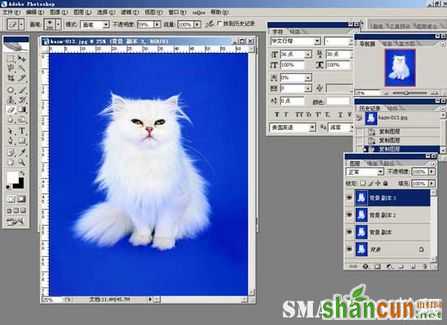
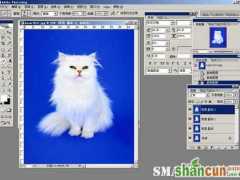
1、打开需要抠图的图片,复制背景层三份;
 nmousewheel="return bbimg(this)" onload="javascript:resizepic(this)" border="0"/>
图9
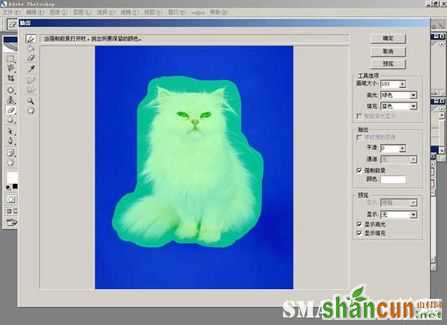
2、选择副本2,滤镜/抽出,设置参数如图,注意设置强制前景色为白色,要勾选强制前景选项;
 nmousewheel="return bbimg(this)" onload="javascript:resizepic(this)" border="0"/>
图10
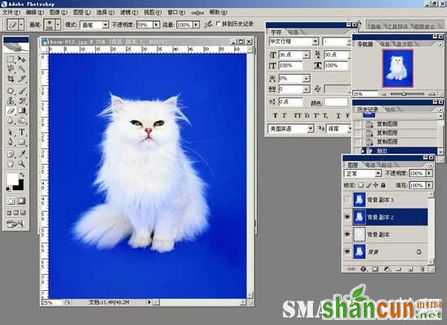
3、选择副本1;
 nmousewheel="return bbimg(this)" onload="javascript:resizepic(this)" border="0"/>
图11
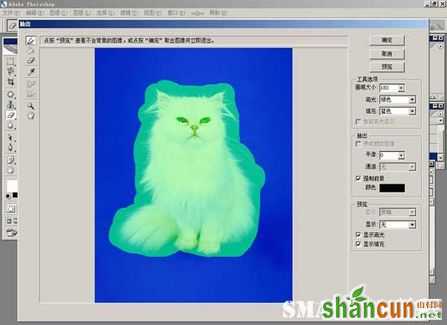
4、滤镜/抽出,设置参数如图,这次注意设置强制前景色为黑色,并勾选强制前景选项;
 nmousewheel="return bbimg(this)" onload="javascript:resizepic(this)" border="0"/>
图12
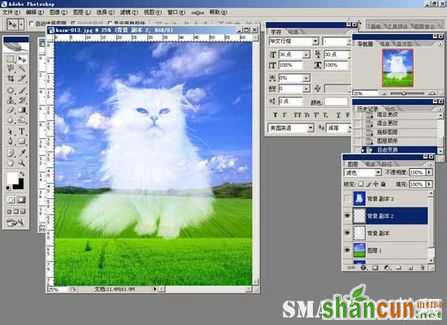
5、我们可以隐藏副本3和背景层,设置副本1和2的模式为“滤色”,观看一下效果怎样:
 nmousewheel="return bbimg(this)" onload="javascript:resizepic(this)" border="0"/>
图13
6、拖进一个背景图片,再观看一下效果。
 nmousewheel="return bbimg(this)" onload="javascript:resizepic(this)" border="0"/>
图14
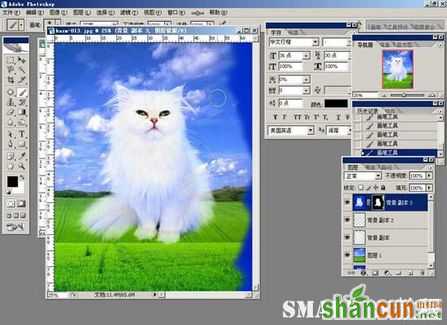
7、为副本3添加蒙版,再用画笔工具进行涂抹,注意选择柔和笔头。
 nmousewheel="return bbimg(this)" onload="javascript:resizepic(this)" border="0"/>
图15
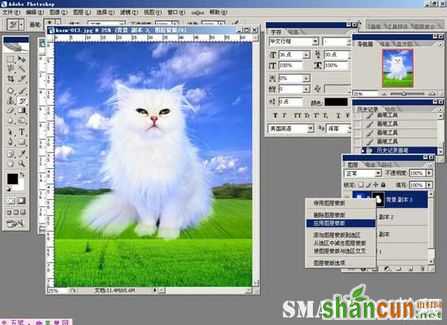
8、右击蒙版缩略图,选择“应用图层蒙版”。
 nmousewheel="return bbimg(this)" onload="javascript:resizepic(this)" border="0"/>
图16
9、图像/调整/替换颜色,3lian素材,把淡蓝色替换成白色。
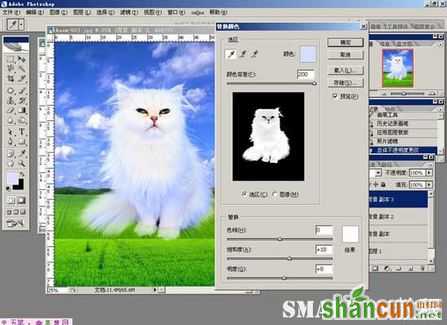 nmousewheel="return bbimg(this)" onload="javascript:resizepic(this)" border="0"/>
图17
10、多次替换颜色,进行细微处调整,得到最终效果图。
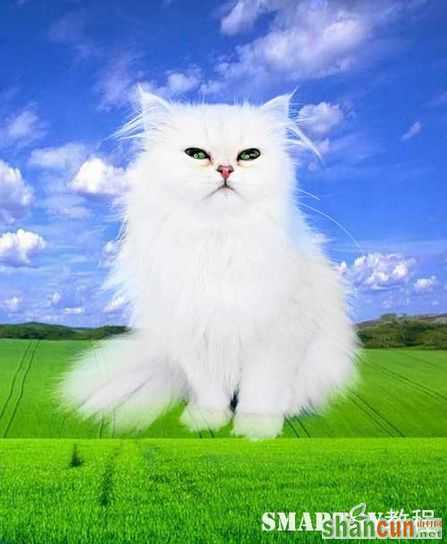 nmousewheel="return bbimg(this)" onload="javascript:resizepic(this)" border="0"/>
图18


