
教程的重点是花边图案的制作。花纹图案是组合图案,需要分步做出来。每一步只要制作花纹的一个图形,其它的直接复制就可以。
最终效果 nmousewheel="return bbimg(this)" onload="javascript:resizepic(this)" border="0"/>
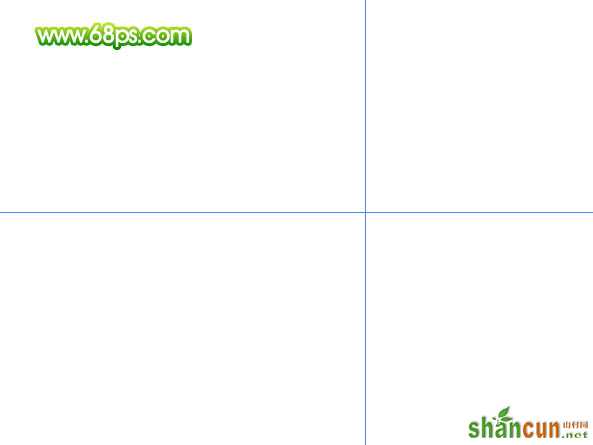
1、新建一个800 * 600像素的文件,背景填充白色。新建一个图层,按Ctrl + R 调出标尺。拉两条相交的参照线,如下图。
 nmousewheel="return bbimg(this)" onload="javascript:resizepic(this)" border="0"/>
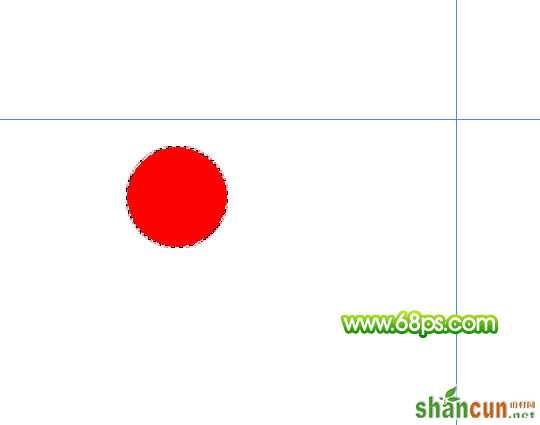
<图1> 2、新建一个图层,选择椭圆选框工具,按住Shift 键拉一个小正圆选区,填充黑色,效果如下图。
 nmousewheel="return bbimg(this)" onload="javascript:resizepic(this)" border="0"/>
<图2>
3、拉三个正圆选区,按Delete 删除选区部分色块,效果如下图。
 nmousewheel="return bbimg(this)" onload="javascript:resizepic(this)" border="0"/>
<图3>
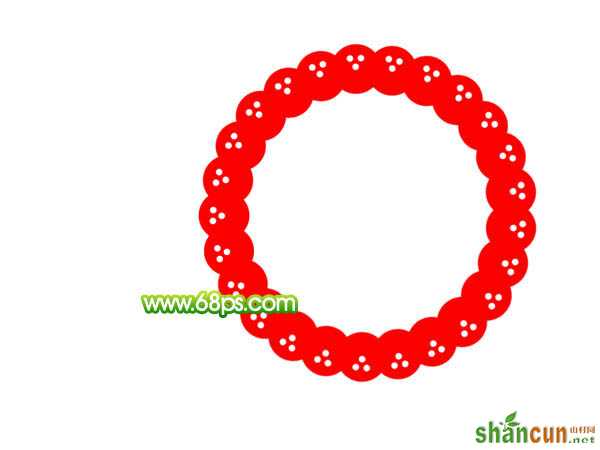
4、按Ctrl + J 把有孔的正圆图层复制一层,按Ctrl + T 变换角度,先把中心点移到参照线的焦点上。在上面属性栏把角度设置为15度,按Enter确认。然后按住Ctrl + Alt + Shift + T 不停复制,直到组成一个圆环,效果如图5。再把这些小圆图层合并为一个图层。
 nmousewheel="return bbimg(this)" onload="javascript:resizepic(this)" border="0"/>
<图4>
 nmousewheel="return bbimg(this)" onload="javascript:resizepic(this)" border="0"/>
<图5>
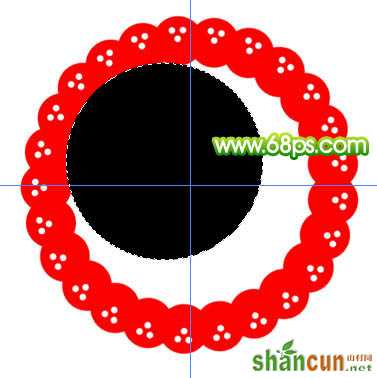
5、新建一个图层,用椭圆选框工具拉出图6所示的正圆选区,填充黑色。然后按照上面的方法复制,效果如图7。变形部分的角度为45度。然后把这些黑色圆图层合并为一个图层。
 nmousewheel="return bbimg(this)" onload="javascript:resizepic(this)" border="0"/>
<图6>
 nmousewheel="return bbimg(this)" onload="javascript:resizepic(this)" border="0"/>
<图7>
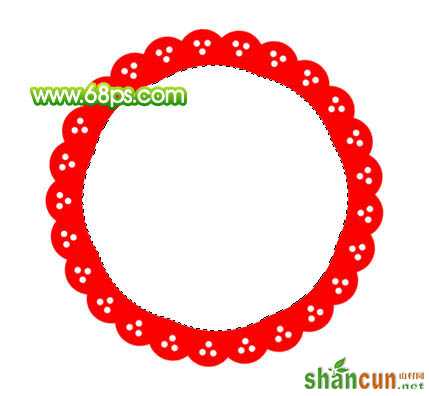
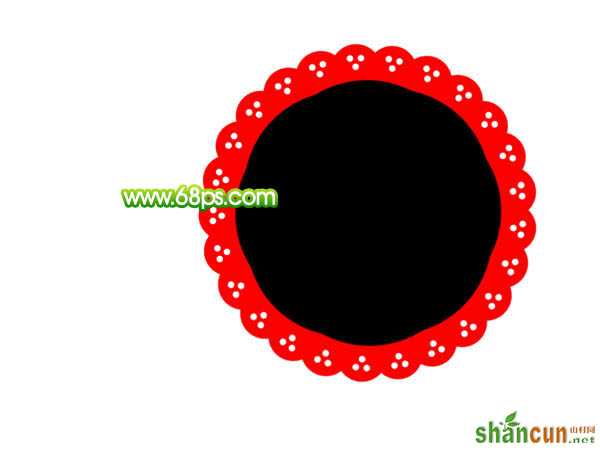
6、调出黑色圆选区,回到红色圆环图层按Delete 删除。再把黑色圆图层影藏,效果如下图。
nmousewheel="return bbimg(this)" onload="javascript:resizepic(this)" border="0"/>
<图8>
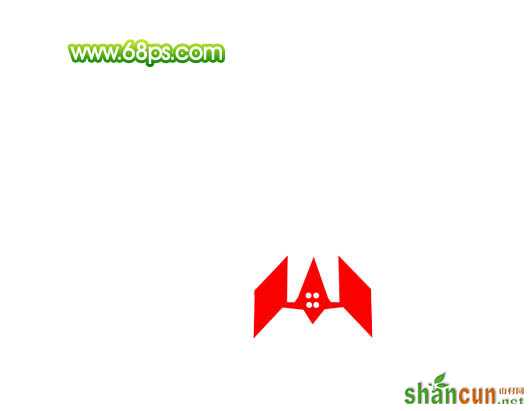
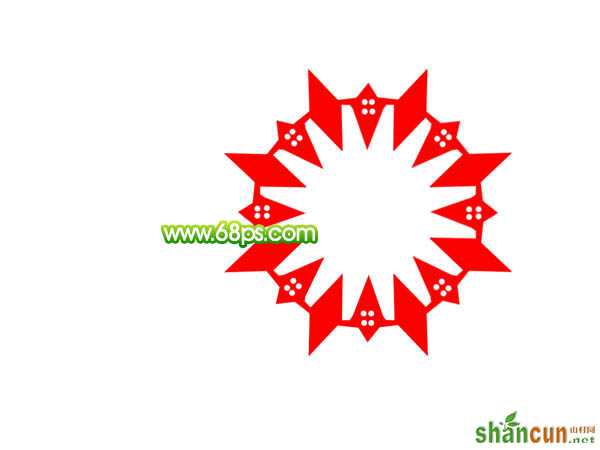
7、新建一个图层,用钢笔勾和选区工具做出图9所示的图形,填充为红色。按照上面的方法复制,效果如图10。然后把这些图层合并为一个图层。为了效果明显暂时影藏下面做好的图形。
nmousewheel="return bbimg(this)" onload="javascript:resizepic(this)" border="0"/>
<图9>
 nmousewheel="return bbimg(this)" onload="javascript:resizepic(this)" border="0"/>
<图10>
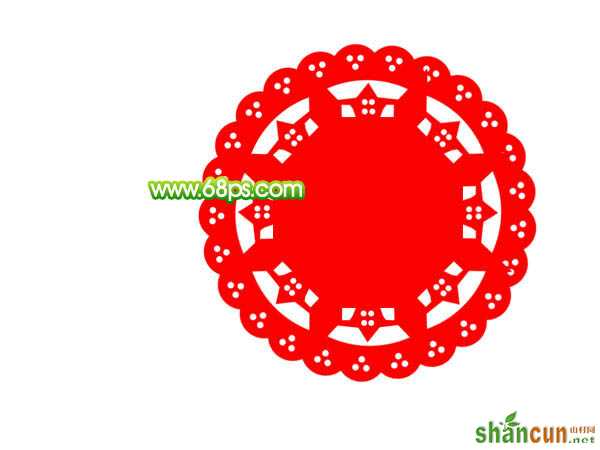
8、选择多边形工具,数值设置为8,以参照线为中心拉一个红色多边形,如图11。到这里圆形花纹图案基本完成了,把这些图层合并为一个图层,效果如图12。
 nmousewheel="return bbimg(this)" onload="javascript:resizepic(this)" border="0"/>
<图11>
 nmousewheel="return bbimg(this)" onload="javascript:resizepic(this)" border="0"/>
<图12>
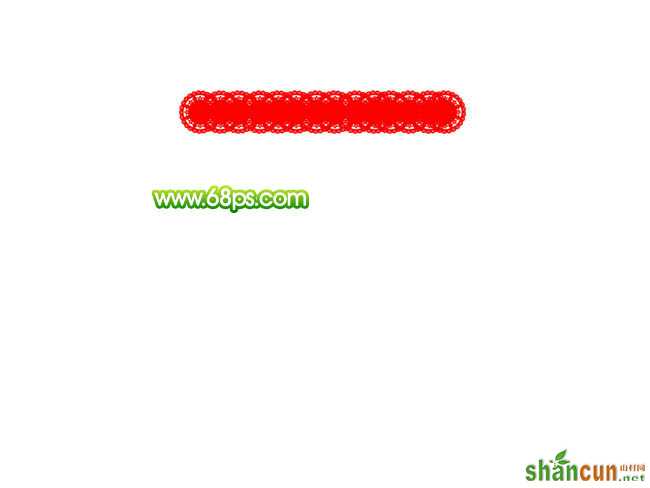
9、把花纹图案复制一层,按Ctrl + T 缩小,然后再复制组成一条直线,如下图。
 nmousewheel="return bbimg(this)" onload="javascript:resizepic(this)" border="0"/>
<图13>
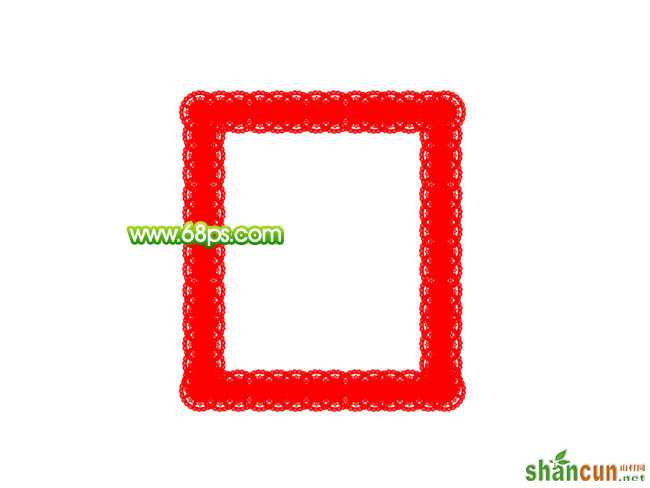
10、继续复制,组成一个矩形,效果如下图,然后把这些图案图层合并为一个图层。
 nmousewheel="return bbimg(this)" onload="javascript:resizepic(this)" border="0"/>
<图14>
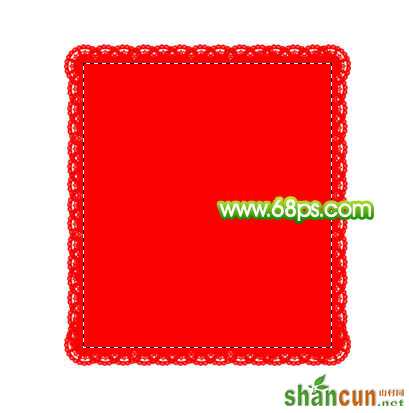
11、用矩形选框工具拉出下图所示的矩形选区,填充红色。
 nmousewheel="return bbimg(this)" onload="javascript:resizepic(this)" border="0"/>
<图15>
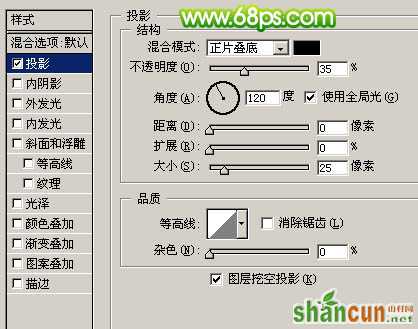
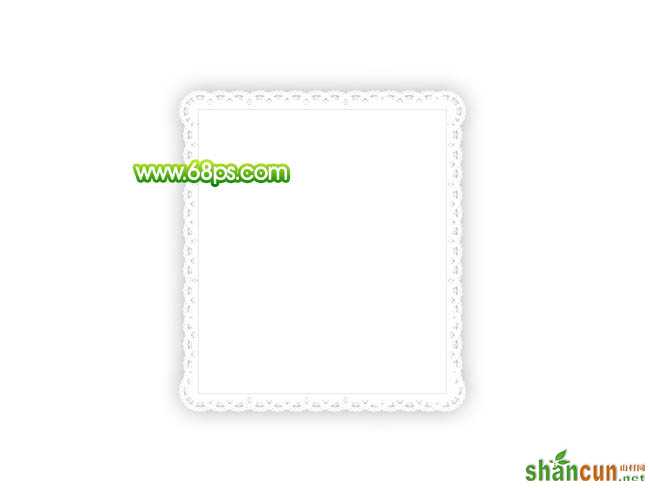
12、锁定图层后填充白色,创建图层调成图层样式,适当加点投影,参数设置如图16,效果如图17。
 nmousewheel="return bbimg(this)" onload="javascript:resizepic(this)" border="0"/>
<图16>
 nmousewheel="return bbimg(this)" onload="javascript:resizepic(this)" border="0"/>
<图17>
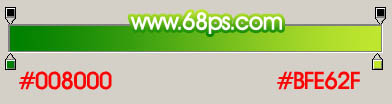
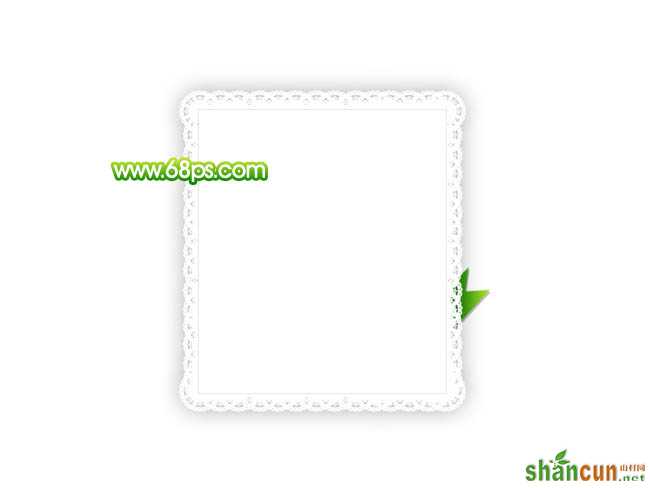
13、在背景图层上面新建一个图层,用钢笔勾出图18所示的选区,选择渐变工具,颜色设置如图19,拉好渐变后适当加点投影,效果如图20。
 nmousewheel="return bbimg(this)" onload="javascript:resizepic(this)" border="0"/>
<图18>
 nmousewheel="return bbimg(this)" onload="javascript:resizepic(this)" border="0"/>
<图19>
 nmousewheel="return bbimg(this)" onload="javascript:resizepic(this)" border="0"/>
<图20>
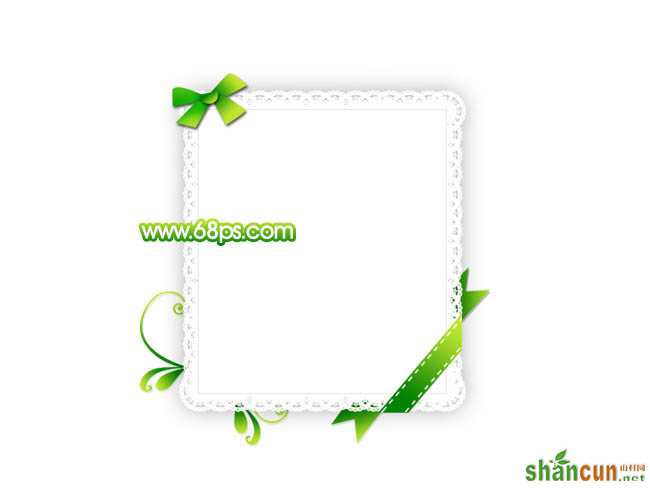
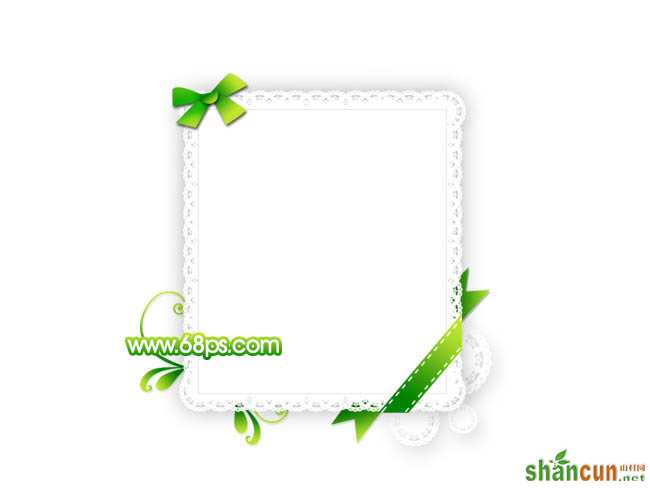
14、同样的方法制作其它图形,效果如图21 - 23。
 nmousewheel="return bbimg(this)" onload="javascript:resizepic(this)" border="0"/>
<图21>
 nmousewheel="return bbimg(this)" onload="javascript:resizepic(this)" border="0"/>
<图22>
 nmousewheel="return bbimg(this)" onload="javascript:resizepic(this)" border="0"/>
<图23>
15、现在可以在中间加上自己的照片,试一下效果。
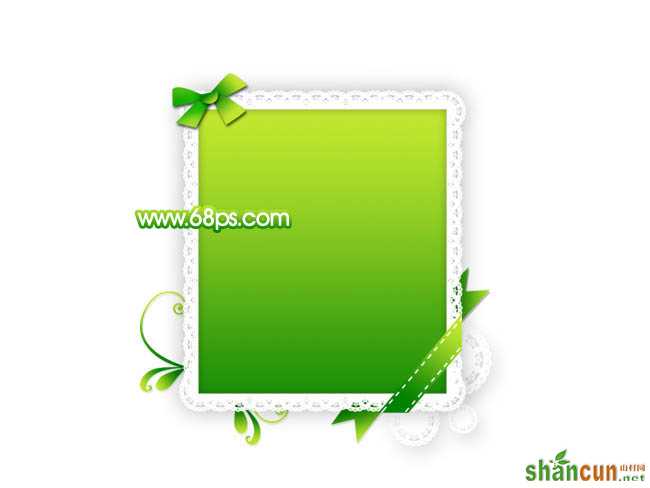 nmousewheel="return bbimg(this)" onload="javascript:resizepic(this)" border="0"/>
<图24>
16、最后加点花朵装饰,完成最终效果。
nmousewheel="return bbimg(this)" onload="javascript:resizepic(this)" border="0"/>
<图25>


