
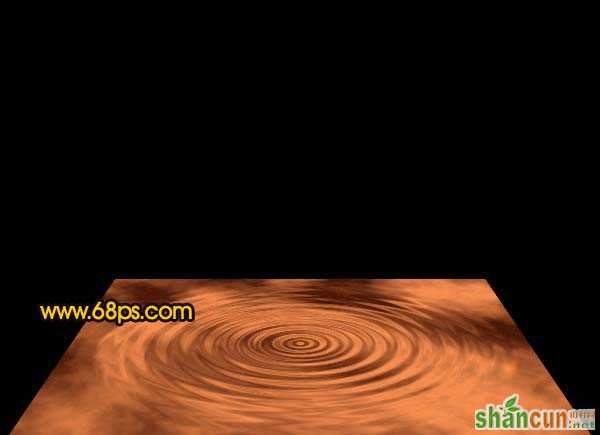
教程的效果制作分为两部分。首先是利用滤镜制作出水波的图案(PS有自带的水波滤镜),由于滤镜效果是随机的,制作出的图案会有一些差别。然后就是整体调色和局部调色。色调可以按照自己的喜好调整。
原图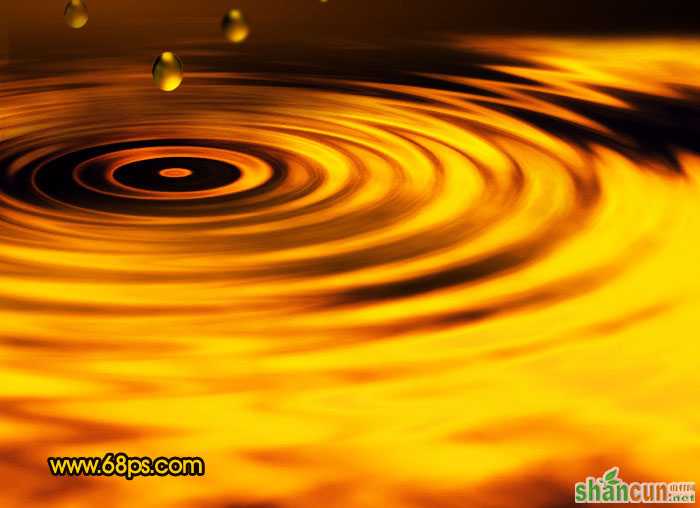 nmousewheel="return bbimg(this)" onload="javascript:resizepic(this)" border="0"/>
1、新建一个壁纸大小的文件,可以选择自己屏幕大小(如1024 * 768 像素)。把背景填充黑色。
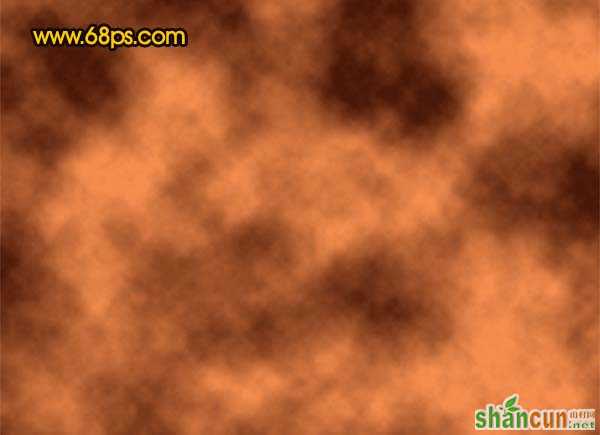
2、把前景颜色设置为:#F58D4E,背景颜色设置为:#481706,新建一个图层,执行:滤镜 > 渲染 > 云彩,确定后按Ctrl + Alt + F加强一下,效果如图1。
 nmousewheel="return bbimg(this)" onload="javascript:resizepic(this)" border="0"/>
<图1>
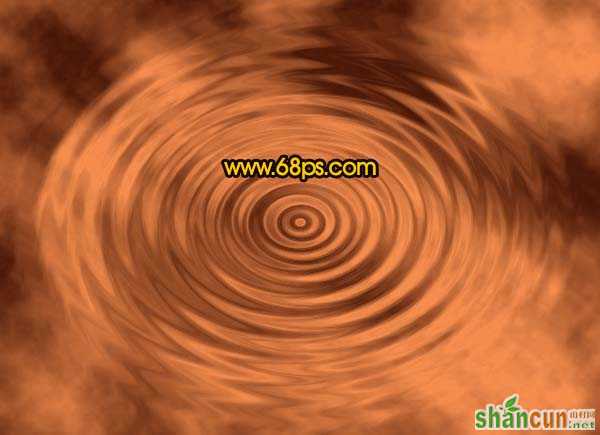
3、执行:滤镜 > 扭曲 > 水波,参数设置如图2,效果如图3。
 nmousewheel="return bbimg(this)" onload="javascript:resizepic(this)" border="0"/>
<图2>
 nmousewheel="return bbimg(this)" onload="javascript:resizepic(this)" border="0"/>
<图3>
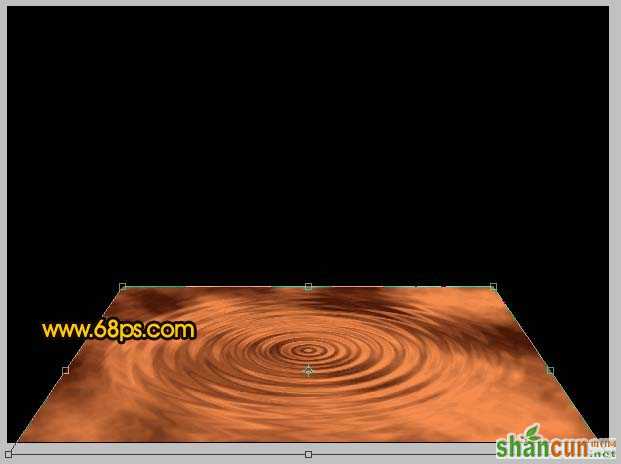
4、按Ctrl + T变形,拉出有点透视的感觉,如图4,效果如图5。
 nmousewheel="return bbimg(this)" onload="javascript:resizepic(this)" border="0"/>
<图4>
 nmousewheel="return bbimg(this)" onload="javascript:resizepic(this)" border="0"/>
<图5>
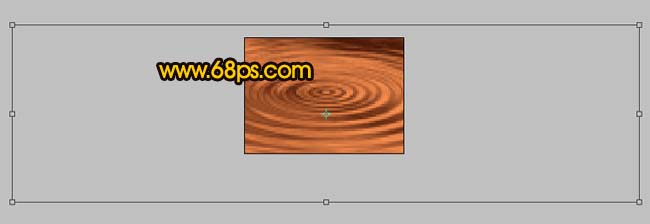
5、把画布稍微缩小一点,再按Ctrl + T等比例拉大,如图6,确定后适当调整好位置,效果如图7。
 nmousewheel="return bbimg(this)" onload="javascript:resizepic(this)" border="0"/>
<图6>
 nmousewheel="return bbimg(this)" onload="javascript:resizepic(this)" border="0"/>
<图7>
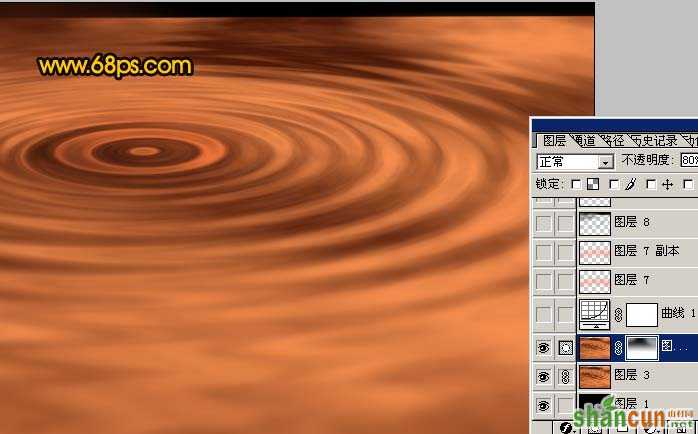
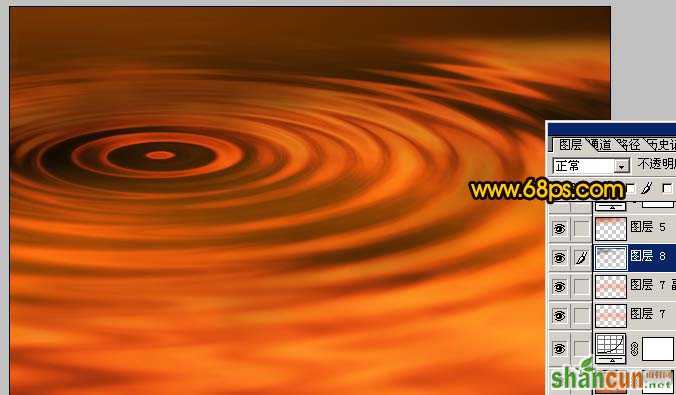
6、把做好的水波图层复制一层,3lian素材,对副本执行:滤镜 > 模糊 > 高斯模糊,数值为6,确定后加上图层蒙版,用黑色画笔把水波的中心位置擦出来,再把图层不透明度改为:80%,效果如图8。
 nmousewheel="return bbimg(this)" onload="javascript:resizepic(this)" border="0"/>
<图8>
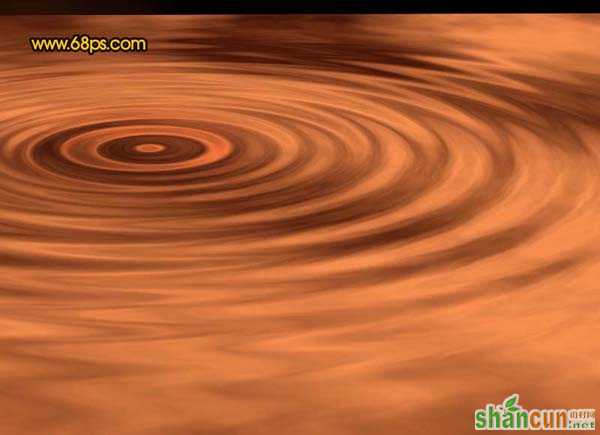
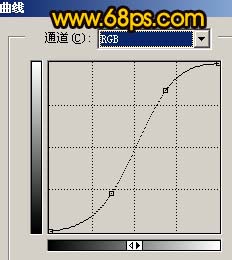
7、创建曲线调整图层,参数设置如图9,10,效果如图11。
 nmousewheel="return bbimg(this)" onload="javascript:resizepic(this)" border="0"/>
<图9> 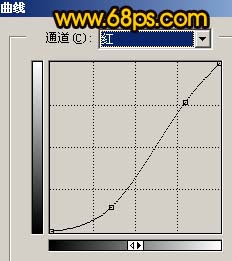 nmousewheel="return bbimg(this)" onload="javascript:resizepic(this)" border="0"/>
<图10> 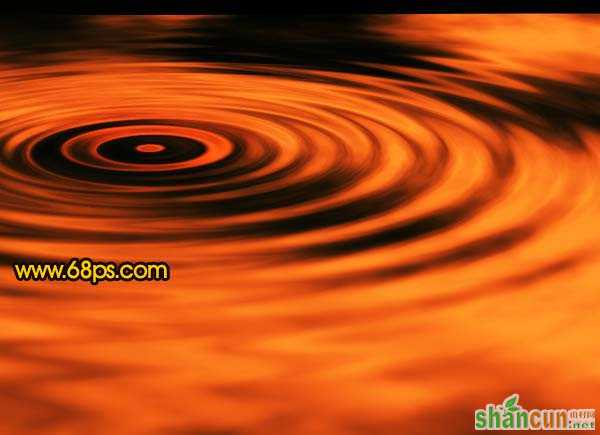 nmousewheel="return bbimg(this)" onload="javascript:resizepic(this)" border="0"/>
<图11>
8、新建一个图层,把前景颜色设置为黑色,用画笔把水波的上部分涂暗一点,效果如图12。
 nmousewheel="return bbimg(this)" onload="javascript:resizepic(this)" border="0"/>
<图12>
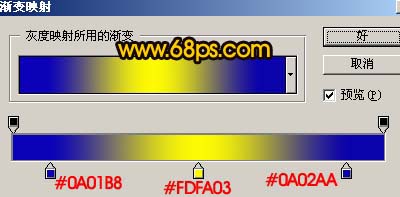
9、创建渐变映射调整图层,参数设置如图13,确定后把图层混合模式改为“叠加”,效果如图14。
 nmousewheel="return bbimg(this)" onload="javascript:resizepic(this)" border="0"/>
<图13> 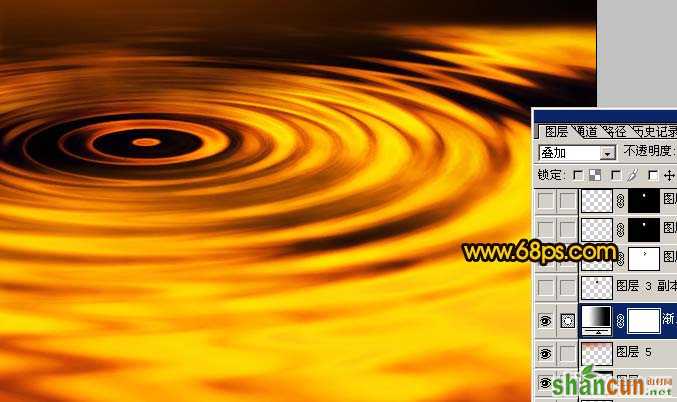 nmousewheel="return bbimg(this)" onload="javascript:resizepic(this)" border="0"/>
<图14>
10、新建一个图层,制作一个小水珠,如图15。
 nmousewheel="return bbimg(this)" onload="javascript:resizepic(this)" border="0"/>
<图15>
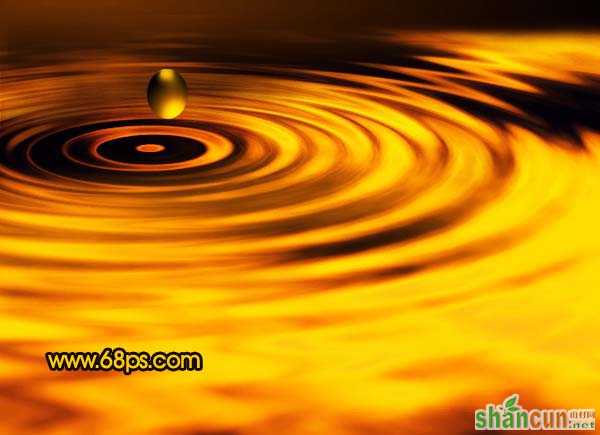
11、把小水珠多复制几个,然后调整好位置。再整体修饰下细节,完成最终效果。
nmousewheel="return bbimg(this)" onload="javascript:resizepic(this)" border="0"/>
<图16>


