
些漂亮的全景图经过简单的处理,变成了类似3D效果的球体。而且透视效果非常逼真。这么奇妙的效果竟然就是用极坐标滤镜来完成。大家可以尝试一下其它素材的效果。
原图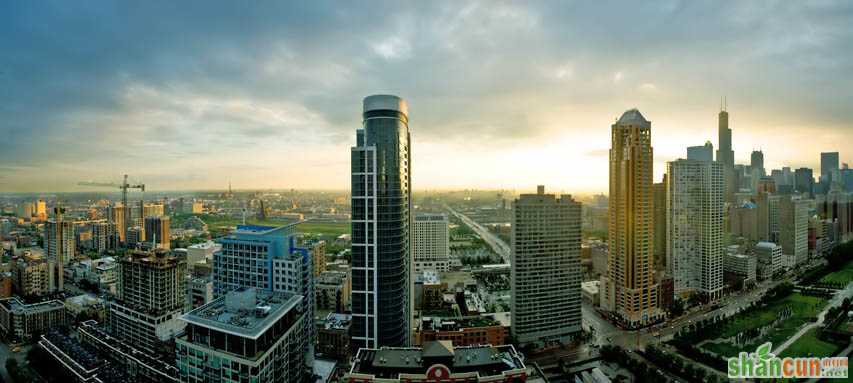 nmousewheel="return bbimg(this)" onload="javascript:resizepic(this)" border="0"/>
最终效果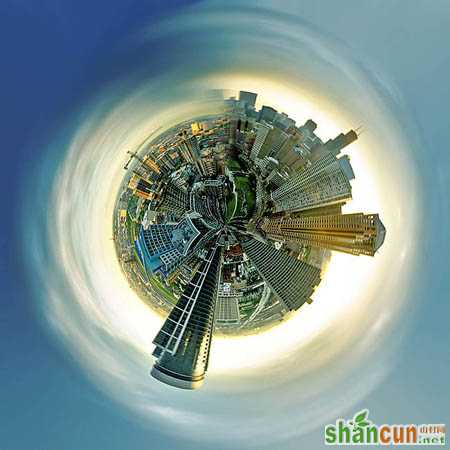 nmousewheel="return bbimg(this)" onload="javascript:resizepic(this)" border="0"/>
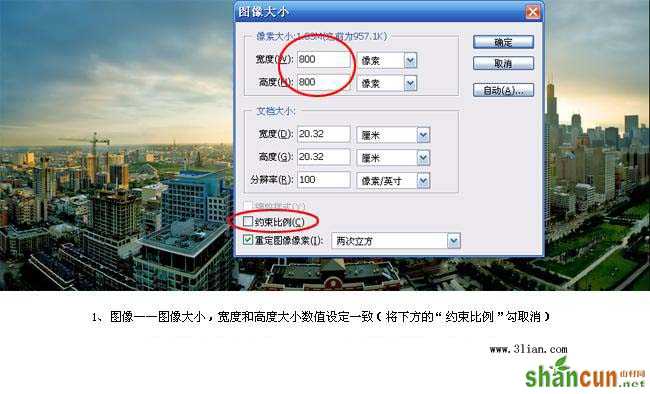
1、打开原图素材,选择菜单:图像 > 图像大小,把宽度和高度数值设定为一致,设定之前先把约束比例取消勾选。
 nmousewheel="return bbimg(this)" onload="javascript:resizepic(this)" border="0"/>
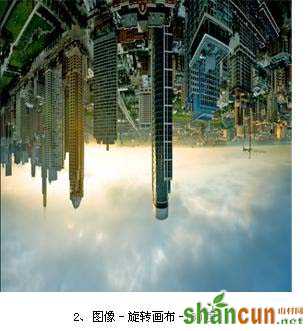
2、选择菜单:图像 > 旋转画布 > 180度,效果如下图。
 nmousewheel="return bbimg(this)" onload="javascript:resizepic(this)" border="0"/>
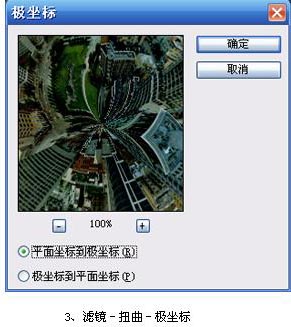
3、执行:滤镜 > 扭曲 > 极坐标,选择“平面坐标到极坐标”。
 nmousewheel="return bbimg(this)" onload="javascript:resizepic(this)" border="0"/>
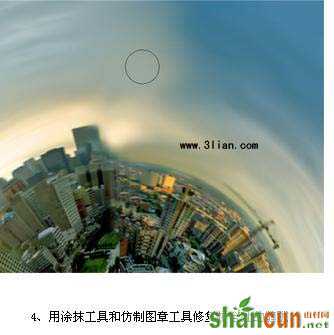
4、选择涂抹工具和仿制图章工具修复拼合处的缝隙。
 nmousewheel="return bbimg(this)" onload="javascript:resizepic(this)" border="0"/>
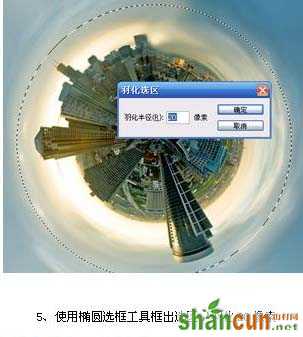
5、选用椭圆选框工具框出选区,按Ctrl + Alt + D 羽化20像素。
 nmousewheel="return bbimg(this)" onload="javascript:resizepic(this)" border="0"/>
6、按Ctrl + Shift + I 反选,按Ctrl + J复制到新的图层,执行:滤镜 > 模糊 > 高斯模糊,数值为5。
 nmousewheel="return bbimg(this)" onload="javascript:resizepic(this)" border="0"/>
最终效果:nmousewheel="return bbimg(this)" onload="javascript:resizepic(this)" border="0"/>
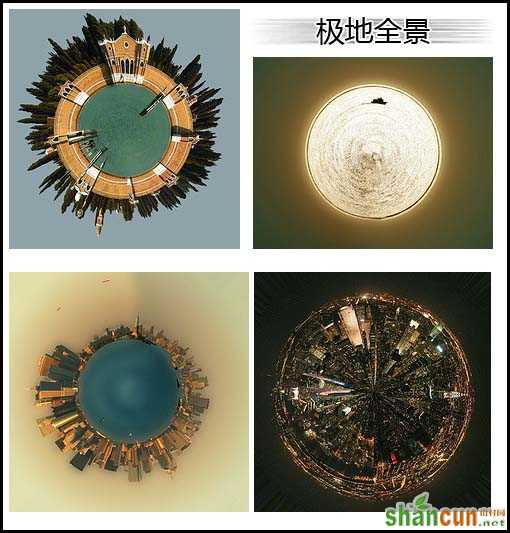
同样的方法,3lian素材,利用其它素材做成类似的效果,如下图:
 nmousewheel="return bbimg(this)" onload="javascript:resizepic(this)" border="0"/>


